Ginger is not just another spice sitting quietly in your kitchen—it’s a powerhouse of natural healing and flavor. From boosting immunity to improving digestion and reducing inflammation, ginger has been valued for centuries in traditional remedies and modern nutrition alike. But what makes it even more fascinating is how its benefits intensify when it’s converted into a fine, aromatic powder. This transformation is not just a simple kitchen task; it’s a careful process where science and technique come together. In this detailed guide, you’ll learn how to make ginger powder at home step by step, along with the scientific reasons behind each step—so you don’t just follow instructions, but truly understand them.
🥇 Selecting the Best Ginger: The Foundation of Quality
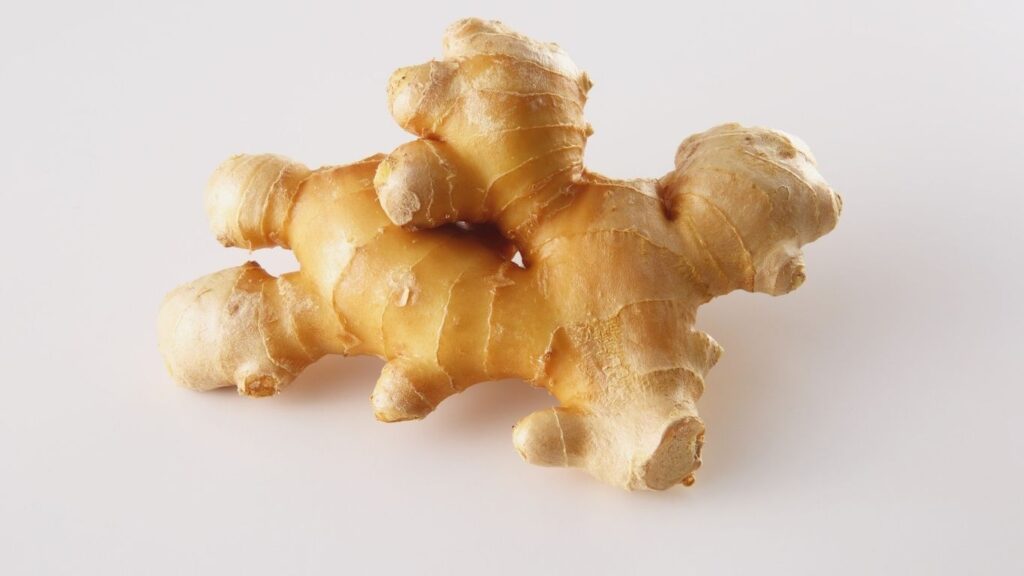
Every great result begins with the right ingredients, and ginger powder is no exception. Not all ginger roots are equal, and choosing the right one can significantly impact the final flavor, aroma, and health benefits.
Look for ginger that feels firm in your hand, with smooth and tight skin. The inside should be creamy and fresh-looking. Avoid ginger that appears wrinkled, dry, or has dark spots, as these are signs of aging and reduced quality. Fresh ginger contains higher levels of natural compounds responsible for its strong aroma and medicinal properties.
As ginger ages, some of its key compounds start to break down, which weakens both its flavor and effectiveness. You can think of it like fresh coffee beans versus old ones—the fresher they are, the stronger and richer the result. If possible, choose ginger that still has its natural outer layer intact, as this often indicates minimal processing and better freshness.
🧼 Cleaning Ginger Properly: Ensuring Safety and Purity
Because ginger grows underground, it naturally collects dirt, dust, and even microorganisms. Proper cleaning is essential not just for hygiene, but also for ensuring your final powder is safe for long-term use.
A highly effective method is to soak the ginger in a bowl of water mixed with one teaspoon of salt and one teaspoon of baking soda. Gently rub or scrub the surface for one to two minutes, then rinse thoroughly under running water.
This method works on multiple levels. Salt acts as a mild abrasive, helping remove dirt trapped in small crevices. Baking soda, being slightly alkaline, helps break down surface residues and neutralize impurities. Together, they create a powerful yet gentle cleaning process that doesn’t affect the natural taste or quality of ginger.
Skipping this step may leave unwanted contaminants behind, which can affect both the safety and shelf life of your ginger powder.
🔪 Peeling Ginger: Enhancing Texture and Flavor
Once your ginger is clean, the next step is peeling. While the skin is technically edible, removing it improves the texture and overall quality of the final powder.
Instead of using a knife, it’s better to use a spoon to gently scrape off the skin. This method reduces waste and helps preserve more of the ginger inside. It’s a simple trick, but it makes a noticeable difference.
Peeling also reduces the presence of surface microbes and any remaining impurities, making your ginger powder cleaner and safer for storage. Think of it like washing fruits with extra care before eating—you’re not just improving appearance, but also ensuring safety.
🔄 Slicing or Grating: Preparing for Efficient Drying
After peeling, ginger needs to be cut into thin, uniform slices or grated into fine pieces. This step plays a critical role in how well and how quickly the ginger dries.
The goal here is to increase surface area. When ginger is sliced thinly or grated, more of its surface is exposed to air, allowing moisture to escape faster. This leads to quicker and more even drying.
If the pieces are uneven, some parts may dry too much while others remain moist. This inconsistency can affect both the flavor and the shelf life of your powder. Moist areas, in particular, can lead to spoilage or mold during storage.
A simple comparison would be drying clothes—thin fabrics dry faster than thick ones because they expose more surface area to air. The same principle applies here.
☀️ Drying Ginger: The Most Important Step
Drying is the heart of the entire process. It determines how well the ginger’s flavor, aroma, and nutrients are preserved.
There are three main methods you can use:
🌞 Sun Drying
This is the most natural method. Spread your ginger slices on a clean tray and place them under direct sunlight for 2 to 3 days. Make sure the weather is hot and dry, and turn the slices every few hours to ensure even drying.
🔥 Oven Drying
If sunlight is not available, you can use an oven. Set the temperature to a low range (around 50–60°C) and dry the ginger for 2 to 3 hours. Check frequently of the prevent to overheating and burning.
⚙️ Dehydrator Method
A food dehydrator is the most consistent option. It provides controlled heat and airflow, allowing the ginger to dry evenly without damaging its natural compounds.
The key factor in all methods is low heat. High temperatures can destroy essential oils and reduce the beneficial compounds in ginger. Slow and steady drying helps retain its natural potency.
You’ll know the ginger is fully dried when it becomes brittle and snaps easily when pressed. Any remaining moisture can lead to mold, which ruins the entire batch.

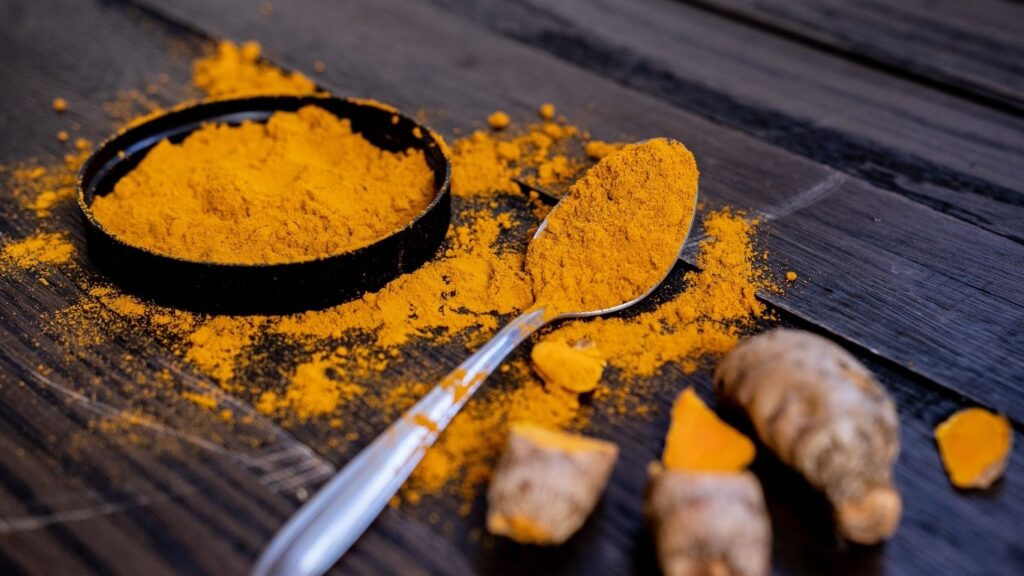
⚙️ Grinding Ginger: Unlocking Aroma and Flavor
Once your ginger is completely dry, it’s time to grind it into powder. This can be done using a spice grinder, blender, or traditional mortar and pestle.
Make sure the ginger pieces are fully dry before grinding. Even a small amount of moisture can cause clumping and reduce the quality of the powder.
Grinding is more than just breaking down the ginger—it’s the step where its full aroma is released. When ginger is crushed, its cell walls break, releasing natural oils and aromatic compounds. This is why freshly ground ginger smells stronger and tastes richer than pre-packaged versions.
Just like freshly crushed herbs have a stronger scent than dried ones sitting on a shelf, freshly ground ginger powder delivers a more powerful experience.
🫙 Proper Storage: Preserving Freshness for Longer
After grinding, proper storage becomes essential. Without it, all your effort can go to waste.
Store your ginger powder in an airtight container to prevent exposure to air and moisture. Keep it in a cool, dark place, away from sunlight and heat sources. These elements can degrade the powder over time, reducing both its flavor and nutritional value.
Glass jars with tight lids are often the best choice, as they don’t react with the contents and help maintain freshness. Avoid storing near stoves or humid areas, as heat and moisture can shorten shelf life.
When stored correctly, homemade ginger powder can stay fresh and effective for several months.
🌟 Why Homemade Ginger Powder is Better
Making ginger powder at home offers several advantages. First, you have full control over the quality of ingredients and the process. There are no additives, preservatives, or artificial elements—just pure, natural ginger.
Second, the flavor and aroma are significantly stronger compared to store-bought options. This means you need less quantity to achieve the same taste, making it more efficient.
Lastly, it’s cost-effective in the long run and allows you to enjoy a fresh, healthy product whenever you need it.